
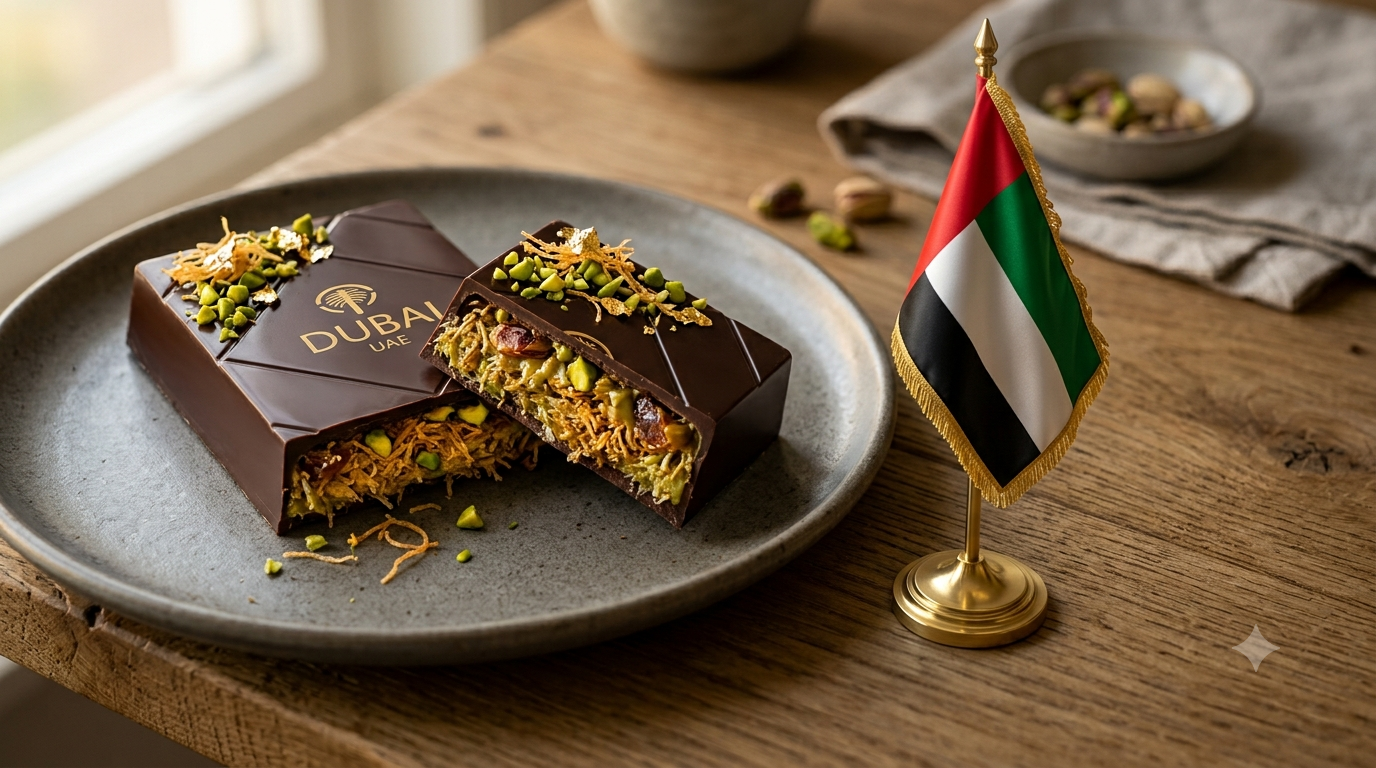
The First Time I Tried Making This Viral Treat
The first homemade Dubai chocolate bar I made was a complete mess. I rushed the chocolate, overfilled the center, and ended up with a cracked shell that leaked pistachio filling everywhere. It still tasted amazing, but it wasn’t the beautiful bar I had imagined.
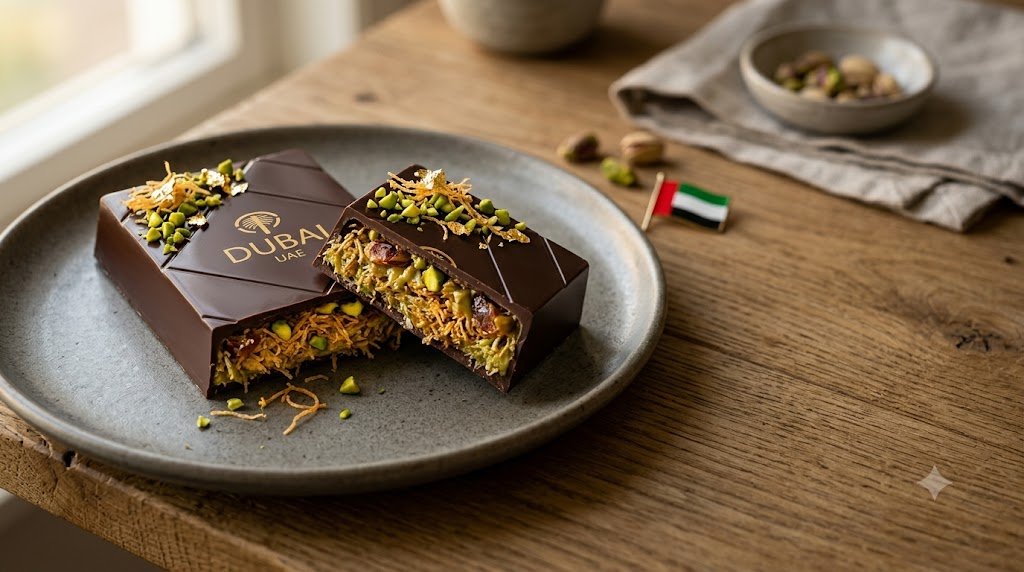
After several test batches, I found the sweet spot. A thin, snappy chocolate shell paired with a creamy pistachio filling and crisp toasted kataifi creates the perfect balance. Every bite starts with a clean chocolate snap, followed by buttery crunch and rich nutty flavor. This homemade Dubai chocolate bar recipe has become one of my favorite treats to make for holidays, gifts, or whenever I want something that feels luxurious without visiting a specialty chocolate shop.
Quick Facts
| Detail | Information |
| Prep Time | 30 minutes |
| Cook Time | 10 minutes |
| Chill Time | 1 hour |
| Total Time | 1 hour 40 minutes |
| Calories | About 420 per bar |
| Difficulty Level | Moderate |
| Servings | 6 large chocolate bars |
| Culinary Origin | Inspired by Dubai luxury chocolate trends |
Why This Recipe Works
After making this recipe many times, I learned that texture matters just as much as flavor.
The biggest mistake people make is adding soft kataifi directly into the filling. Fresh kataifi quickly absorbs moisture from the pistachio cream, leaving the center chewy instead of crisp. I always toast it in butter until it’s deeply golden and smells slightly nutty. That extra five minutes keeps the filling crunchy for days.
The chocolate shell also deserves attention. Tempered chocolate gives a glossy finish and a clean snap, but even if you skip tempering, slowly melting high-quality chocolate keeps the shell smooth and sturdy.
Another trick is letting the first chocolate layer chill completely before adding the filling. That firm shell supports the weight of the pistachio mixture and prevents cracks when unmolding.
The result is a chocolate bar that tastes rich without feeling overly sweet. Every bite delivers silky chocolate, creamy pistachio, and crisp strands of buttery pastry.
Ingredients With Purpose
| Ingredient | Amount | Why It’s Here |
| Milk chocolate, chopped | 18 ounces | Creates the smooth outer shell |
| Dark chocolate (optional) | 4 ounces | Balances sweetness and deepens flavor |
| Unsalted butter | 2 tablespoons | Toasts the kataifi evenly |
| Kataifi pastry, chopped | 7 ounces | Provides signature crunch |
| Pistachio cream | 1 cup | Rich, creamy filling |
| Tahini | 2 tablespoons | Adds earthy depth and balances sweetness |
| Fine sea salt | ¼ teaspoon | Brightens the chocolate flavor |
| Chopped roasted pistachios | ¼ cup | Extra texture inside the filling |
| Edible gold dust (optional) | Light sprinkle | Decorative finish inspired by luxury Dubai chocolates |
Step-by-Step Cooking Instructions
Step 1: Toast the Kataifi
Melt the butter in a large skillet over medium heat.
Add the chopped kataifi pastry and stir constantly with tongs or a wooden spoon. At first it looks pale and stringy. After about 6 to 8 minutes, it turns evenly golden with darker caramel-colored edges.
The butter should smell nutty, not burnt. Remove the pan from the heat immediately and let the pastry cool completely.
Step 2: Make the Pistachio Filling
In a medium bowl, stir together the pistachio cream, tahini, sea salt, toasted kataifi, and chopped pistachios.
The filling should be thick enough to scoop without running. If it seems loose, chill it for 10 minutes before using.
Step 3: Melt the Chocolate
Place the chopped chocolate into a heatproof bowl.
Microwave at 50% power in 20-second bursts, stirring well after each round.
Stop heating when a few small pieces remain. Stir until completely smooth.
The finished chocolate should be glossy with no streaks.
Step 4: Coat the Molds
Using a pastry brush or spoon, spread a generous layer of melted chocolate inside each chocolate bar mold.
Pay close attention to the corners and edges.
Place the mold in the refrigerator for 15 minutes until firm.
Add a second thin layer if any spots look transparent.
Step 5: Fill the Bars
Spoon the pistachio mixture into each mold.
Press gently to remove air pockets but avoid packing the filling too tightly.
Leave about ⅛ inch of space at the top so the final chocolate layer seals properly.
Step 6: Seal the Chocolate
Pour the remaining melted chocolate over each filled mold.
Use an offset spatula or bench scraper to smooth the tops.
Tap the mold gently on the counter several times. Tiny air bubbles will rise to the surface.
Refrigerate for 45 to 60 minutes until fully hardened.
Step 7: Unmold
Turn the mold upside down onto a clean towel.
A properly chilled chocolate bar should release with a satisfying pop.
Dust lightly with edible gold if desired.
Serve immediately or store for later.
Nutrition Breakdown
| Nutrient | Per Serving |
| Calories | 420 |
| Protein | 8g |
| Fat | 30g |
| Carbohydrates | 34g |
| Sugar | 25g |
| Fiber | 4g |
| Sodium | 90mg |
Pro Tips & Common Mistakes to Avoid
1. Don’t rush the toasted kataifi.
Even slightly undercooked strands soften inside the filling. Wait until every strand is golden before removing it from the pan.
2. Keep water away from the chocolate.
Even a tiny drop can cause chocolate to seize into a grainy paste.
3. Use sturdy molds.
Thin plastic molds flex too much, making it harder to remove the finished bars without cracking them.
4. Let the filling cool completely.
Warm filling melts the chocolate shell from the inside and weakens its structure.
5. Don’t overfill.
Too much filling prevents the chocolate backing from sealing correctly, causing the bars to split during unmolding.
6. Choose quality pistachio cream.
A pistachio spread with real pistachios listed as the first ingredient delivers richer flavor than products filled mostly with sugar and vegetable oils.
Variations & Substitutions
Extra Dark Version
Replace all the milk chocolate with 70% dark chocolate for a richer finish.
White Chocolate Version
Use premium white chocolate and add a pinch of salt to balance the sweetness.
Gluten-Free
Replace the kataifi with certified gluten-free crispy rice cereal. The texture changes slightly but still delivers satisfying crunch.
Vegan
Use dairy-free chocolate, plant-based butter, and vegan pistachio cream.
Nut-Free
Swap the pistachio cream for sunflower seed butter mixed with a little vanilla and powdered sugar. Use toasted shredded coconut instead of chopped pistachios.
Storage and Reheating Guide
Store the finished chocolate bars in an airtight container in the refrigerator for up to one week.
For longer storage, wrap each bar tightly in plastic wrap, place them inside a freezer-safe container, and freeze for up to two months.
To serve after freezing, thaw overnight in the refrigerator before bringing them to room temperature for about 20 minutes.
Avoid microwaving the bars. The chocolate softens unevenly, and the filling loses its crisp texture.
Frequently Asked Questions
What is a Dubai chocolate bar?
A Dubai chocolate bar is a luxury-style chocolate filled with creamy pistachio spread and crispy toasted kataifi pastry. Many versions are finished with decorative gold accents.
Can I make this homemade Dubai chocolate bar recipe without molds?
Yes. Line a loaf pan with parchment paper, build the chocolate shell in layers, add the filling, cover with chocolate, and slice into bars once chilled.
What is kataifi pastry?
Kataifi is finely shredded phyllo dough commonly used in Middle Eastern and Mediterranean desserts. Once toasted, it becomes wonderfully crisp.
Why did my chocolate bar crack?
Cracks usually happen when the shell is too thin or the filling is packed too tightly. Using two chocolate layers creates a much stronger shell.
Which chocolate tastes best?
I prefer a blend of milk and dark chocolate. The milk chocolate keeps the bar creamy while the dark chocolate balances the sweetness and lets the pistachio flavor shine.
Homemade Dubai Chocolate Bar Recipe You’ll Want to Make Again
This homemade Dubai chocolate bar recipe proves that you don’t need expensive equipment or a luxury chocolate shop to create something unforgettable. A little patience, good chocolate, and perfectly toasted kataifi make all the difference.
Every time I make these bars, they’re the first dessert to disappear. Friends always ask where I bought them, and they’re surprised to hear they came straight from my own kitchen.
If you give this recipe a try, I’d love to hear how it turned out. Leave a comment with your favorite twist, share a photo of your finished bars, or tell me what filling combination you tried. Happy chocolate making!
YOU LIKES TO READ NEAR ME FOOD: Best Chuflay Cocktail Near Me