
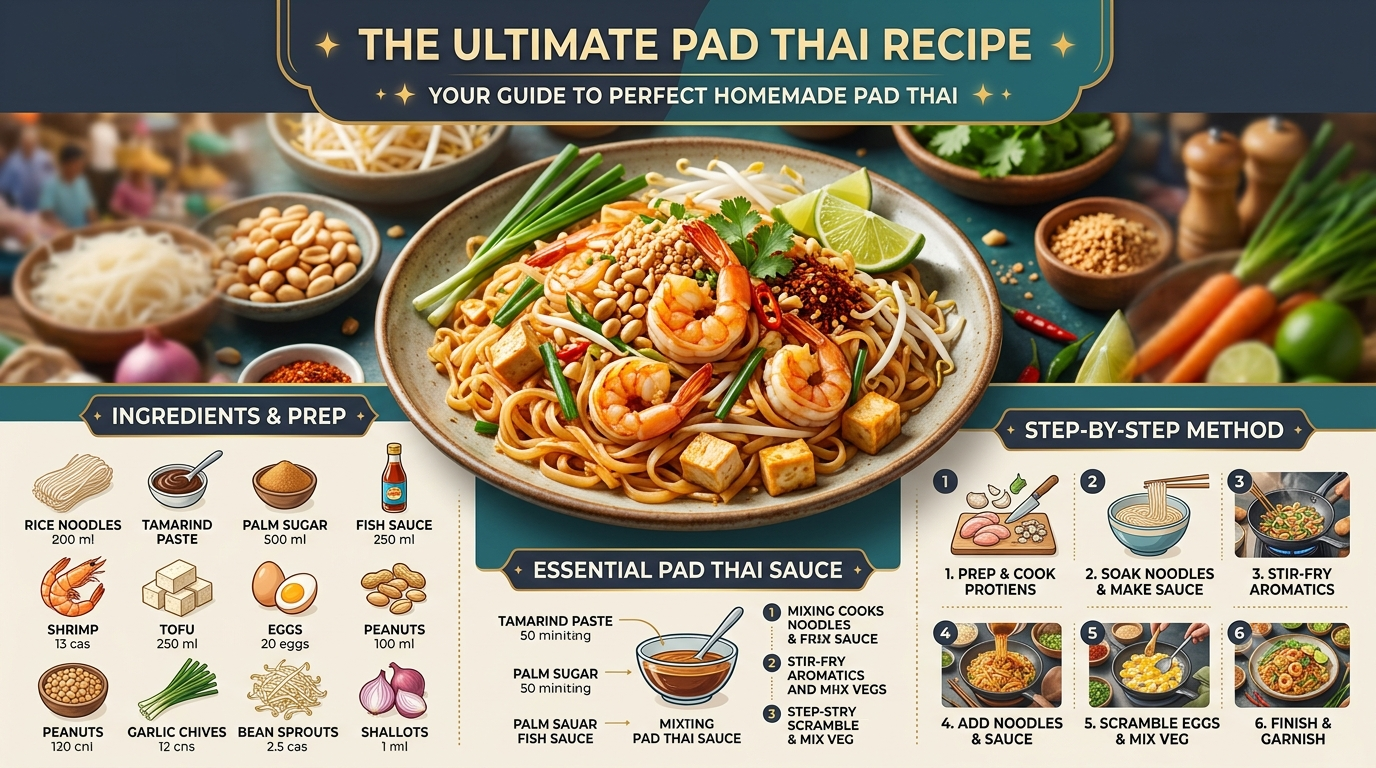
The first time I tried making Pad Thai at home, I made one mistake that almost everyone makes—I drowned the noodles in sauce. Instead of the glossy, lightly coated noodles I loved from my favorite Thai restaurant, I ended up with a sticky pan of mush. That failed dinner sent me down a rabbit hole of testing different sauces, noodle brands, and cooking methods until I finally found the balance that works every single time.
Now this is the best pad thai recipe I reach for whenever I want restaurant-quality flavor without leaving the house. The noodles stay chewy, the sauce clings instead of pooling at the bottom of the pan, and every bite delivers that perfect mix of sweet, salty, tangy, and savory flavors. Better yet, the whole meal comes together in about 30 minutes, making it just as practical as ordering takeout—but far more satisfying.
Quick Facts
| Recipe Details | Information |
| Prep Time | 20 minutes |
| Cook Time | 10 minutes |
| Total Time | 30 minutes |
| Calories | About 520 per serving |
| Difficulty | Easy to Moderate |
| Servings | 4 |
| Culinary Origin | Thailand |
Why This Recipe Works
After making Pad Thai more times than I can count, I’ve learned that success has very little to do with fancy equipment. It comes down to controlling moisture and cooking fast over high heat.
The biggest improvement I discovered was soaking the rice noodles instead of boiling them. Warm water softens the noodles without overcooking them, so they finish cooking in the skillet while absorbing the sauce. That simple change gives the noodles their signature chewy texture.
Another trick is mixing the sauce before anything hits the pan. Stir-frying moves quickly, and stopping to measure ingredients while cooking usually means something burns. Having the sauce ready lets you focus entirely on building flavor.
Cooking each ingredient separately for just a moment also keeps everything tasting fresh. The shrimp stay juicy, the eggs remain soft, and the vegetables keep a slight crunch instead of turning limp.
Finally, using medium-high to high heat creates just enough caramelization on the noodles. Tiny browned spots develop where the sauce touches the pan, adding a smoky flavor that reminds me of the Pad Thai served by busy street vendors.
Ingredients with Purpose
| Ingredient | Measurement | Why It’s Here |
| Flat rice noodles | 8 ounces | The chewy base of the dish |
| Large shrimp, peeled and deveined | 1 pound | Sweet, tender protein |
| Vegetable oil | 3 tablespoons | Helps everything cook evenly |
| Eggs | 2 large | Adds richness and soft texture |
| Garlic, minced | 3 cloves | Deep savory flavor |
| Shallot, finely sliced | 1 medium | Mild sweetness |
| Bean sprouts | 2 cups | Fresh crunch |
| Green onions, sliced | 4 | Bright onion flavor |
| Roasted peanuts, chopped | ½ cup | Crunch and nuttiness |
| Fresh cilantro | ¼ cup | Fresh herbal finish |
| Lime wedges | 4 | Bright acidity before serving |
Pad Thai Sauce
| Ingredient | Measurement | Why It’s Here |
| Tamarind paste | 3 tablespoons | Signature tangy flavor |
| Fish sauce | 3 tablespoons | Deep umami richness |
| Brown sugar | 2½ tablespoons | Balances the acidity |
| Low-sodium soy sauce | 1 tablespoon | Adds savory depth |
| Rice vinegar | 1 tablespoon | Sharpens the sauce |
| Sriracha (optional) | 1 teaspoon | Gentle heat |
Step-by-Step Cooking Instructions
Step 1: Soak the Noodles
Place the rice noodles in a large bowl and cover them with warm water—not boiling water.
Let them soak for about 25 to 30 minutes. They should bend easily but still feel firm in the center. Think of them as slightly undercooked because they’ll finish cooking in the skillet.
Drain well and toss with a teaspoon of oil if they’ll sit for more than a few minutes.
Step 2: Mix the Sauce
Whisk together the tamarind paste, fish sauce, brown sugar, soy sauce, rice vinegar, and sriracha in a small bowl.
Keep whisking until the sugar dissolves completely. Taste the sauce before cooking. It should seem stronger than you’d expect because it will mellow once mixed with the noodles.
Step 3: Prepare Everything Before Heating the Pan
Pad Thai cooks incredibly fast.
Arrange the shrimp, eggs, garlic, shallots, bean sprouts, green onions, peanuts, cilantro, noodles, and sauce within arm’s reach.
Once the pan gets hot, you won’t have time to chop or measure.
Step 4: Cook the Shrimp
Heat a large wok or heavy skillet over medium-high heat for about 2 minutes.
Add 1 tablespoon of vegetable oil.
Lay the shrimp in a single layer and cook for roughly 90 seconds per side.
They’re ready when they turn pink with lightly golden edges and curl into a loose “C” shape. If they curl tightly into an “O,” they’re overcooked.
Transfer them to a plate.
Step 5: Build the Flavor Base
Add another tablespoon of oil.
Stir in the sliced shallots and cook for about one minute until they soften and become lightly golden.
Add the minced garlic and cook for only 20 to 30 seconds.
The garlic should smell sweet and fragrant, never dark brown. Burned garlic adds bitterness that can overpower the finished dish.
Step 6: Scramble the Eggs
Push the garlic and shallots to one side of the skillet.
Pour the beaten eggs into the empty space.
Allow them to sit untouched for about 20 seconds before gently stirring with a spatula.
The eggs should stay soft with small creamy curds rather than becoming dry.
Step 7: Add the Noodles
Add the drained noodles directly into the skillet.
Use tongs to gently lift and turn them for about one minute.
You’ll notice them becoming more flexible as they warm.
If they stick together, don’t force them apart. They’ll loosen naturally once the sauce is added.
Step 8: Pour in the Sauce
Pour the prepared sauce evenly around the noodles instead of dumping it in one spot.
Keep tossing continuously for about 2 to 3 minutes.
Watch the noodles carefully. They’ll absorb the sauce, turn glossy, and deepen to a rich amber color.
You shouldn’t see liquid collecting in the bottom of the pan. If you do, continue tossing for another minute until the sauce reduces and coats every strand.
Step 9: Finish the Dish
Return the cooked shrimp to the skillet.
Add the bean sprouts and most of the sliced green onions.
Cook for only 30 to 45 seconds.
The sprouts should soften slightly while still keeping a crisp bite that contrasts beautifully with the tender noodles.
Turn off the heat immediately once everything is combined.
Step 10: Garnish and Serve
Divide the Pad Thai among four warm plates.
Top each serving with chopped roasted peanuts, fresh cilantro, the remaining green onions, and a generous squeeze of fresh lime juice.
I always serve extra lime wedges on the side because everyone likes a slightly different balance of sweet and tangy flavors.
The finished noodles should be glossy instead of greasy, lightly smoky from the hot pan, and coated in just enough sauce to flavor every bite without becoming heavy.
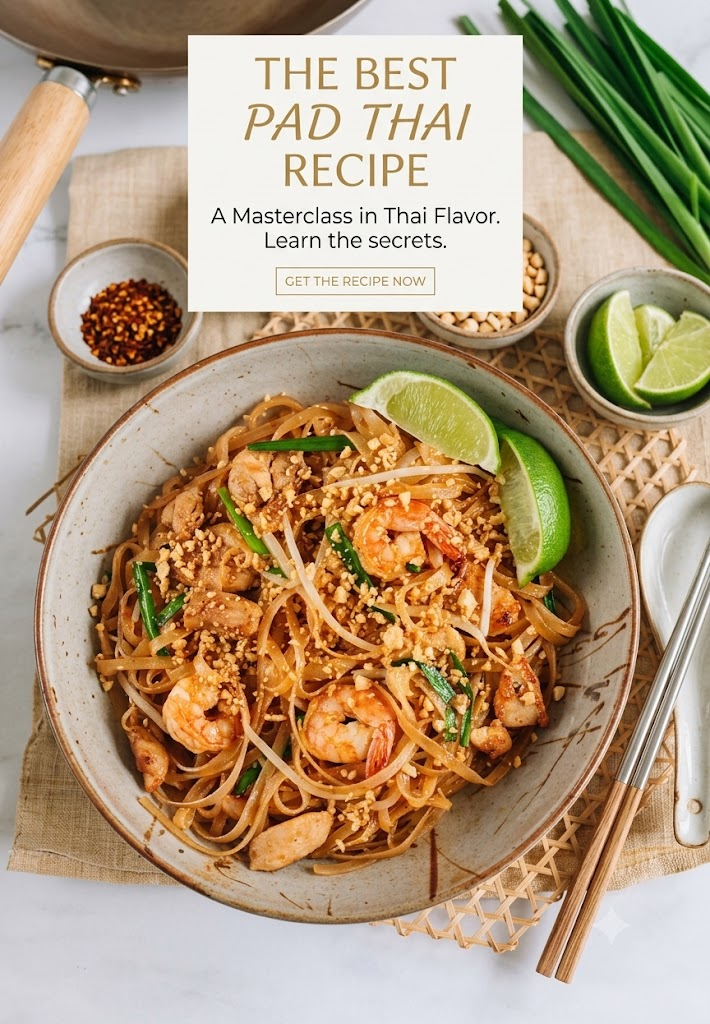
This best pad thai recipe delivers chewy noodles, juicy shrimp, crunchy vegetables, and a perfectly balanced sauce that tastes just like something you’d order at an excellent Thai restaurant—but made fresh in your own kitchen.
Recipe Nutrition Breakdown
| Nutrient (Per Serving) | Amount | Why It Matters |
| Calories | 520 | A satisfying main-course portion |
| Protein | 31g | Helps keep you full and supports muscle health |
| Carbohydrates | 48g | The primary source of energy from rice noodles |
| Fat | 21g | Adds richness and carries flavor |
| Saturated Fat | 4g | Moderate amount from eggs and peanuts |
| Fiber | 3g | Comes from vegetables and peanuts |
| Sugar | 12g | Mostly from the balanced Pad Thai sauce |
| Sodium | 980mg | Primarily from fish sauce and soy sauce |
Nutrition values are estimates and may vary depending on ingredient brands and serving sizes.
Pro Tips & Common Mistakes to Avoid
I’ve learned these lessons through plenty of trial and error, and they make the difference between a decent dinner and truly restaurant-quality Pad Thai.
1. Don’t Boil the Noodles Until They’re Fully Cooked
Rice noodles continue cooking in the skillet. If they’re already soft before they hit the pan, they’ll quickly become mushy once the sauce is added.
I always soak them until they’re flexible but still slightly firm in the center.
2. Use a Large Pan
Crowding the pan traps steam instead of creating the quick, high-heat cooking Pad Thai needs.
If your skillet isn’t large enough, cook the recipe in two batches. The noodles will stay glossy instead of sticky.
3. Add Bean Sprouts at the Very End
Bean sprouts cook in seconds.
Leaving them over the heat for too long makes them limp and watery. They should stay crisp enough to add texture to every bite.
4. Taste the Sauce Before Cooking
Tamarind paste varies quite a bit between brands. Some are sweeter, while others are more tart.
If the sauce tastes too sharp, stir in another teaspoon of brown sugar. If it’s too sweet, add an extra splash of tamarind or fresh lime juice.
5. Don’t Walk Away From the Stove
Once the noodles go into the pan, the recipe moves fast.
Keep the noodles moving with tongs so they absorb the sauce evenly without sticking or burning.
6. Warm Your Serving Plates
This small detail keeps the noodles hot longer.
Pad Thai cools surprisingly quickly because rice noodles lose heat faster than wheat pasta.
7. Avoid Too Much Oil
Pad Thai should look glossy, not greasy.
If oil pools in the bottom of the skillet, you’ve added more than necessary. The sauce—not the oil—should coat the noodles.
Variations & Substitutions
One reason I make this best pad thai recipe so often is that it’s easy to adapt without losing its signature flavor.
Chicken Pad Thai
Replace the shrimp with one pound of thinly sliced chicken breast or boneless chicken thighs.
Cook until the internal temperature reaches 165°F before adding it back to the noodles.
Vegetarian Version
Skip the shrimp and replace the fish sauce with vegetarian fish sauce or additional soy sauce.
Extra-firm tofu works beautifully here. Press it for 30 minutes, cube it, and pan-fry until golden before adding it back near the end.
Vegan Pad Thai
Use tofu, vegan fish sauce, and leave out the eggs.
A handful of roasted cashews adds richness that balances the missing eggs.
Gluten-Free
Most rice noodles are naturally gluten-free, but always check the package.
Use certified gluten-free soy sauce or tamari to keep the entire dish gluten-free.
Extra Spicy
Add sliced Thai bird’s eye chilies while cooking the garlic or increase the sriracha.
Serve with chili flakes on the side so everyone can adjust the heat.
Add More Vegetables
Broccoli, snow peas, shredded carrots, napa cabbage, baby spinach, and bell peppers all work well.
Cook firm vegetables first so they stay crisp instead of overcooking.
Storage and Reheating Guide
Pad Thai is at its best fresh, but leftovers can still taste fantastic if stored correctly.
Refrigerator
Allow the noodles to cool for no more than one hour.
Store them in an airtight container for up to 3 days.
Keep fresh lime wedges and chopped peanuts separate until serving.
Freezer
While you can freeze Pad Thai for up to one month, the noodles become softer after thawing.
If I know I’ll freeze leftovers, I slightly undercook the noodles during the initial cooking.
Reheating on the Stove
My favorite method is reheating in a nonstick skillet over medium heat.
Add one or two tablespoons of water and toss gently for about 3 to 4 minutes until heated through.
The water creates steam that loosens the sauce without making the noodles soggy.
Microwave
Cover loosely with a microwave-safe lid.
Heat in 30-second intervals, stirring between each round.
Finish with fresh lime juice to brighten the flavors.
Frequently Asked Questions
What makes Pad Thai taste authentic?
Authentic Pad Thai gets its signature flavor from tamarind paste, fish sauce, palm or brown sugar, and high-heat cooking. The balance of sweet, salty, and tangy flavors is far more important than adding lots of ingredients.
Can I make Pad Thai ahead of time?
You can prepare the sauce and chop all the vegetables one day ahead.
For the best texture, cook the noodles just before serving. Freshly stir-fried noodles always have the best chew.
Why are my rice noodles sticky?
Sticky noodles usually happen because they’re over-soaked, overcooked, or left sitting after draining.
Keeping them slightly firm before stir-frying helps prevent this problem.
What’s the best protein for Pad Thai?
Shrimp is a classic choice because it cooks quickly and pairs beautifully with the sweet-tangy sauce.
Chicken, tofu, beef, and even thinly sliced pork also work well.
Can I make Pad Thai without tamarind paste?
You can substitute a mixture of fresh lime juice and a small amount of rice vinegar in a pinch, but the flavor won’t be quite the same.
Tamarind provides the fruity tang that makes traditional Pad Thai unique.
Bring Restaurant Flavor Home
Every time I make this best pad thai recipe, I’m reminded that great cooking doesn’t have to be complicated. A handful of fresh ingredients, a well-balanced sauce, and a few minutes over high heat are all it takes to create a meal that’s packed with bold flavor and satisfying texture.
The beauty of homemade Pad Thai is that you can adjust it to your family’s tastes while still keeping the heart of the dish intact. Whether you load it with shrimp, swap in crispy tofu, or turn up the spice, this recipe gives you a reliable foundation you’ll come back to again and again.
If you try it, I’d love to hear how it turned out. Leave a comment with your favorite variation, share your cooking tips, or tell me what you paired it with. Happy cooking!
U SHARE AND READ OVER: Best Katsu Curry Near Me